Tips for Starting and Maintaining a Garden
The number one tip I have to share is: it doesn’t have to be perfect.
Cultivating enjoyment, productivity, beauty and creating connection to nature, our food and local ecosystems are usually the goal of gardening. My experience has been that success in the garden most often about adaptation and flexibility. My presence has a role in my garden’s success but the garden is a part of nature and as much as we can plan, manage and try to control our gardens, nature often has its own plans. I firmly believe that perfection is not something that Mother Nature really aspires to, so neither should we! Adaptability is a much more interesting and dynamic endeavour anyways.
The following tips are to help you find success in some of the more elusive but much discussed aspects of gardening, topics that are often mentioned on the back of a seed pack or planting instruction but are not always elaborated on. I hope you find these tips and explanations helpful on your gardening journey!
Know Your Frost Dates
Most seed packets will instruct to ‘sow indoors ____ weeks before your last frost’ so its really helpful to have an idea of when that is to optimize the time you are starting your seeds. Plants that take a longer time to mature, like peppers or onions should be the first to start because they need that extra time. For faster growing, warmer weather plants like basil, tomatoes or zinnias- starting them too early will do you no favours as they will be ready to be potted up or transplanted out far before the temperatures and soil conditions are ideal for them.
Im growing in zone 5b in Lanark County Ontario and our last frost is often around May 20th. I used to live in Toronto where the last frost day was often a week or two earlier. I had an allotment plot and was growing flowers at a community farm in Caledon East and usually I would be planting in the ground around Mothers Day. For warm weather lovers like squash, melons, peppers, beans and zinnias I waited another week until the soil was good and warmed up to sow or transplant.
Sowing Seeds
In general the idea is to plant the seed 1-2x deep as the seed is long at its longest length. For example if you have a larger seed like pumpkin- that seed will be sown around 2 cm deep because the length of the seed is about 1 cm long. If the seed is tiny like lettuce, poppy or rudbeckia the seeds should be surface sown. For surface sown seeds I like to water the the soil first and then sow the seeds. You can ‘broadcast’ seeds as well by sort of scattering the seeds by hand over the area, it can be helpful to mix the seeds with some sand or dry soil to help distribute them evenly.
Be sure to keep seeds and soil moist when the seeds are germinating and seedlings are becoming established. If you started the seeds in containers, be sure to pot them up if necessary and once the seedlings are established and healthy start the hardening off process and transplant them when the conditions are right.
For seeds that are not round a trick I’ve found helpful is to place the seed upright in ground, with the point (top) of the seed facing up to the surface of the soil and the more blunt base of the seed downwards. Its certainly not a requirement but I’ve found this especially effective when sowing cosmos.
Pro tip: If you don’t have a fan blowing or an open window close to where you start your seeds be sure to pet your seedings- yes I said it! Once you seed the first true set of leaves start to make contact with your seedlings (this will actually be the second leaves you see growing- the first leaves to appear are called the ‘cotyledon’). Gently run your hand over your seedlings a couple times at least once a day. This helps them get strong wind and rain resistant leaves and stems.
Starting Seeds Under Lights
If you are starting seeds under lights be sure that the lights are not too close or too far away from your seedlings. If the lights are too close you risk burning your seedlings and if the lights are too far away they will become ‘leggy’ from reaching towards the lights. This will depend on the type of lights you have and how powerful the bulbs are. I usually aim to have the lights about 4 to 6 inches above the tops of the seedlings, if you notice the leaves are starting to look a bit cooked, raise them up, if you notice they are getting leggy, lower the lights and give lots of pets to strengthen them up. Some pants will have different light requirements than others and will grow at different rates so keep an eye on your seedlings and ensure they get at least 8 hours of good light everyday. I usually give them 12. If you go away for a few days and don’t have an automatic timer system set up for your lights, don’t leave the lights on, just give your seedlings a good watering, place them near a sunny (closed) window if you can and hope for the best.
Some folks rig a system to allow the lights to raise and lower on a little chains and I’ve even seen some simple pulley systems. I usually raise my seed trays on some blocks or books underneath to get them the right distance from the lights during germination and as the seedlings grow I remove the blocks to get the seed trays lower and then eventually put the lights on blocks to raise them up to an ideal height. Eventually I’ll have a more refined shelf system with hanging lights I can raise and lower easily but for now this system works.. its a pinch more effort but hey, its free!
Cold stratification
This is the process by which seeds are awakened from dormancy by cold temperatures. When you see this on a seed packet it means that the seeds need to be exposed to cold temperatures that mimic the winter seasonal changes. This can be done by putting the seeds in a plastic (ziplock style) bag in the fridge for a couple weeks, ideally with a some damp vermiculite, some folks use potting soil and others just put the seed pack in the ziplock bag and pop it in the fridge for a few weeks. I’ve had pretty good success rates starting seeds in containers and placing them outside in late winter, somewhere with partial sun. Some folks like to cover their containers with juice jugs/ pop bottles with the bottoms cut off and lids removed to create mini greenhouses for their seeds. Just make sure to water as the weather starts to warm and pot them up/ transplant when they’re ready!
Hardening Off Seedlings
The idea here is to help your seedlings acclimatize slowly to their new home. This rings true for seedlings you started from seed indoors and for those purchased from your local garden centre. If your seedlings have never been outside, give them a good watering and choose a shaded and wind protected spot in the morning and set them outside for 15 minutes. The next day do half an hour. The next day let them have a little bit more sunlight, and over the course of a week or so slowly acclimatize the plants. Eventually leave them out for a whole day and overnight. Make sure to water them! Transplant shock happens which the seedlings can’t handle a sudden increase in full direct sun, wind or overnight lows and can be a real heartbreaker- it happens though so don’t be too hard on yourself if it does!
Soil Health
Healthy soil = healthy plants. 1$ plant, 10$ hole. Investing time into you soil’s health is the best way to care for the investment of our plants. The goal is to have healthy, fertile soil that is full of organic matter which will provide optimal nutrients for plants. Having healthy soil means there will be millions of microbes and microorganisms, intact mycelium networks.. and yes, there will be insects in your soil. The best way to protect your soil is to limit tilling or turning of the soil and compaction of the soil as much as possible. Leaving the soil structure intact keeps the all important mycelium network intact, leaves seed banks of undesirable seeds undisturbed and reduces sub surface compaction. Try to avoid walking on the areas you plan to plant as well. If the soil is compacted and without organic matter, air and water cannot penetrate or move through the soil and eventually the top layers of soil (topsoil) gets depleted and literally disappears. Think the dustbowl of the south-central USA in the 1930’s where top soil literally was blowing away in the wind creating intense dust storms. Plants need both air and water to survive and if air and water can’t move through the soil with ease, the roots of the plants in your garden won’t be able to access it either.
Biological Diversity
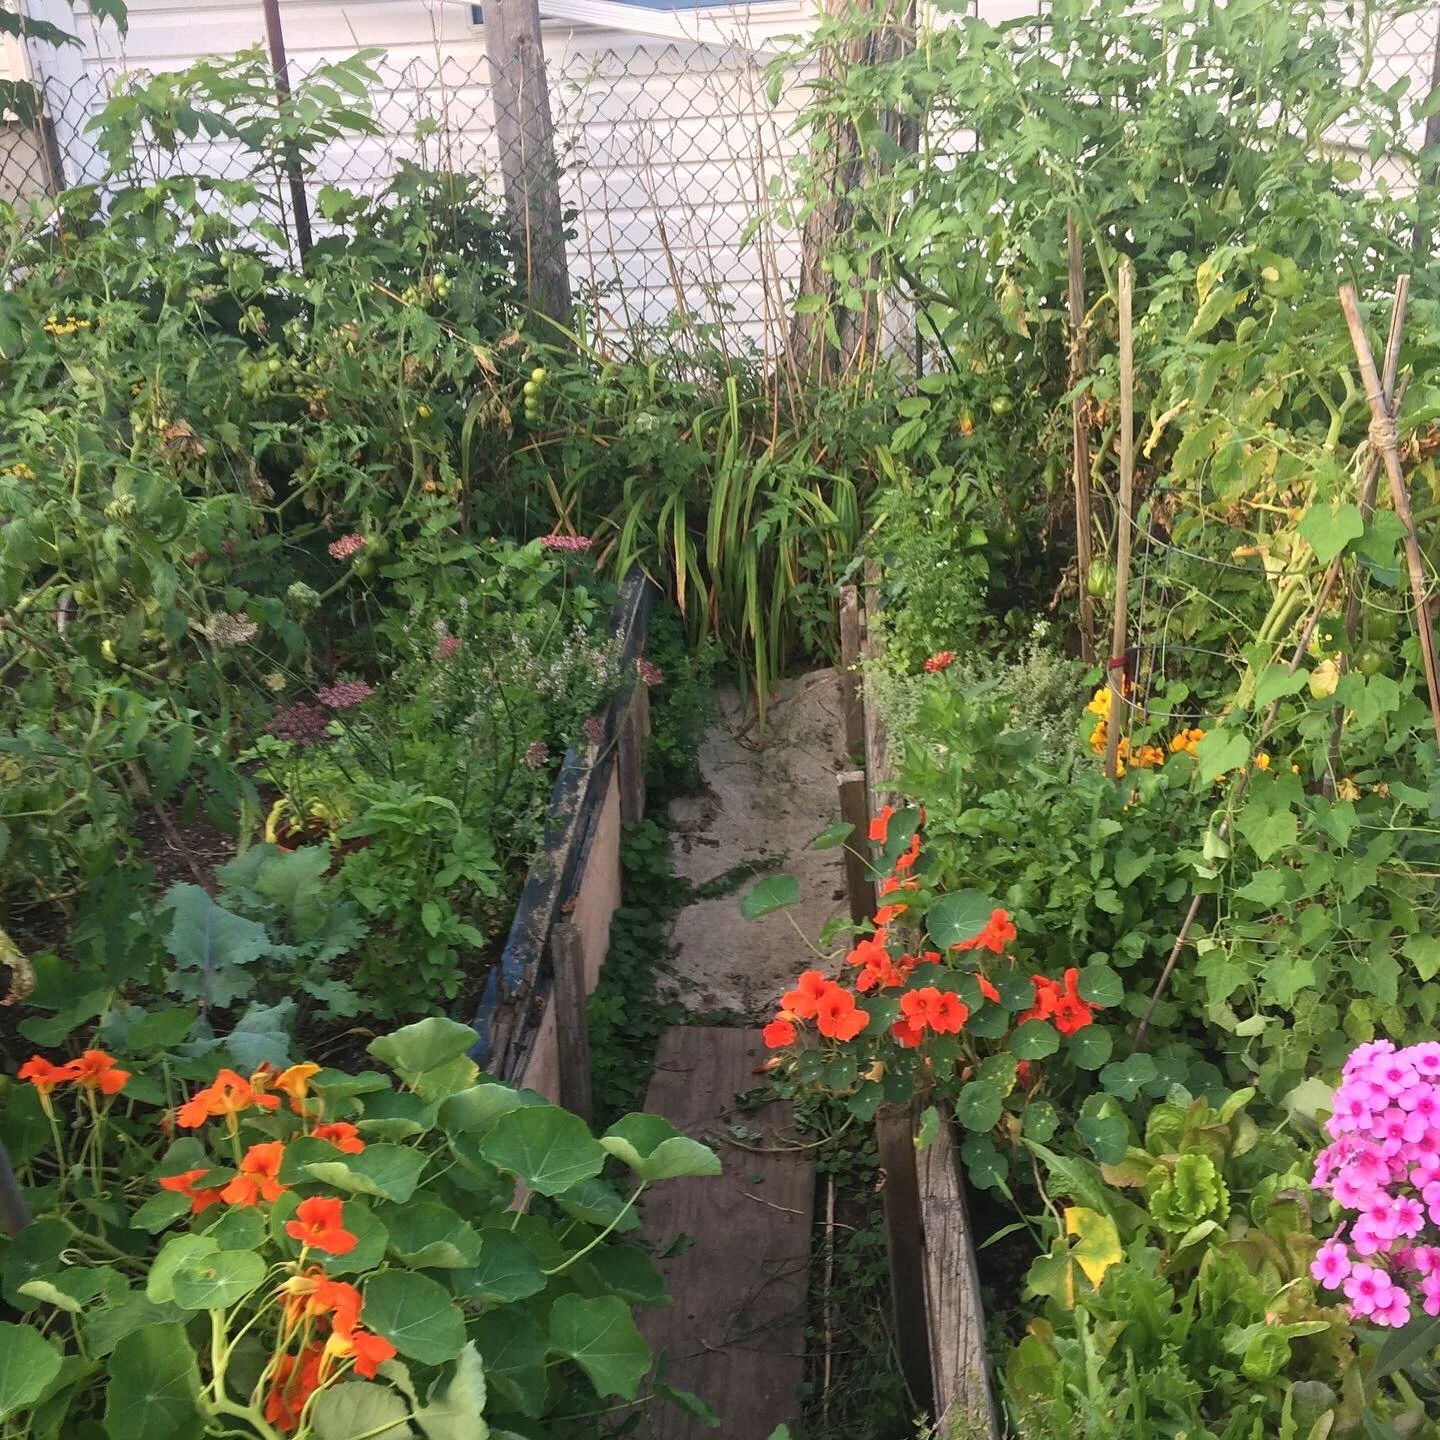
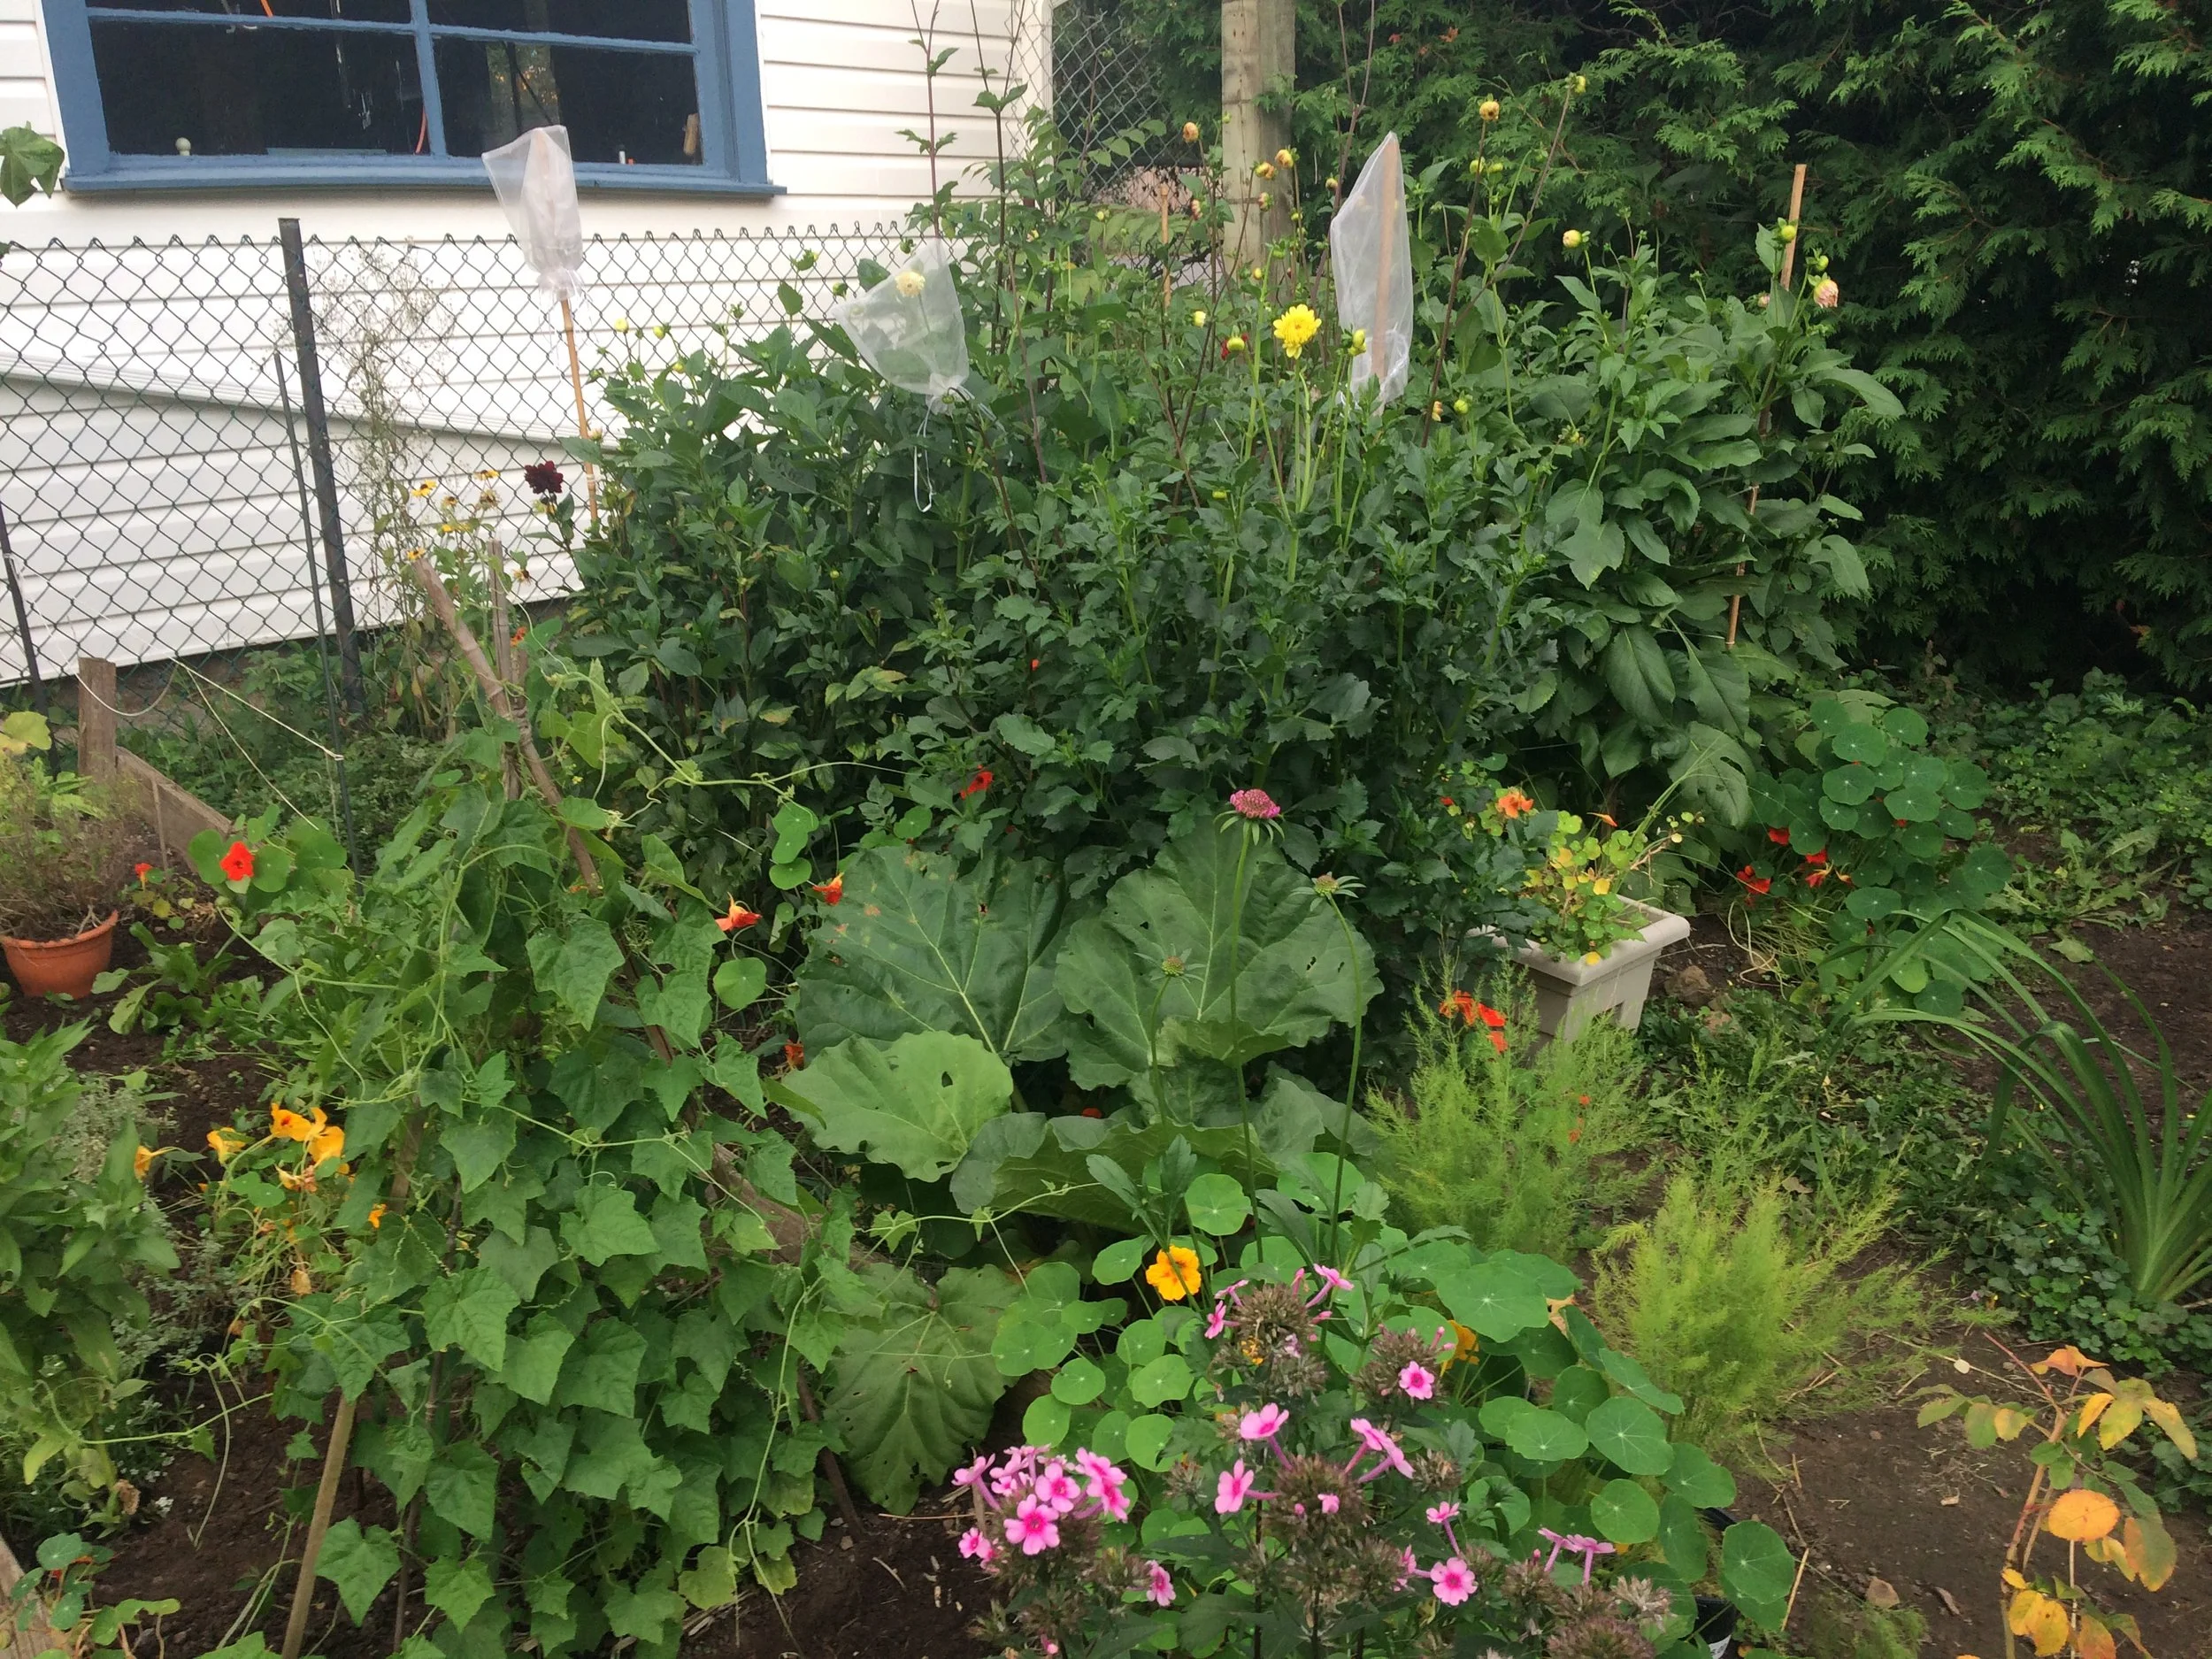
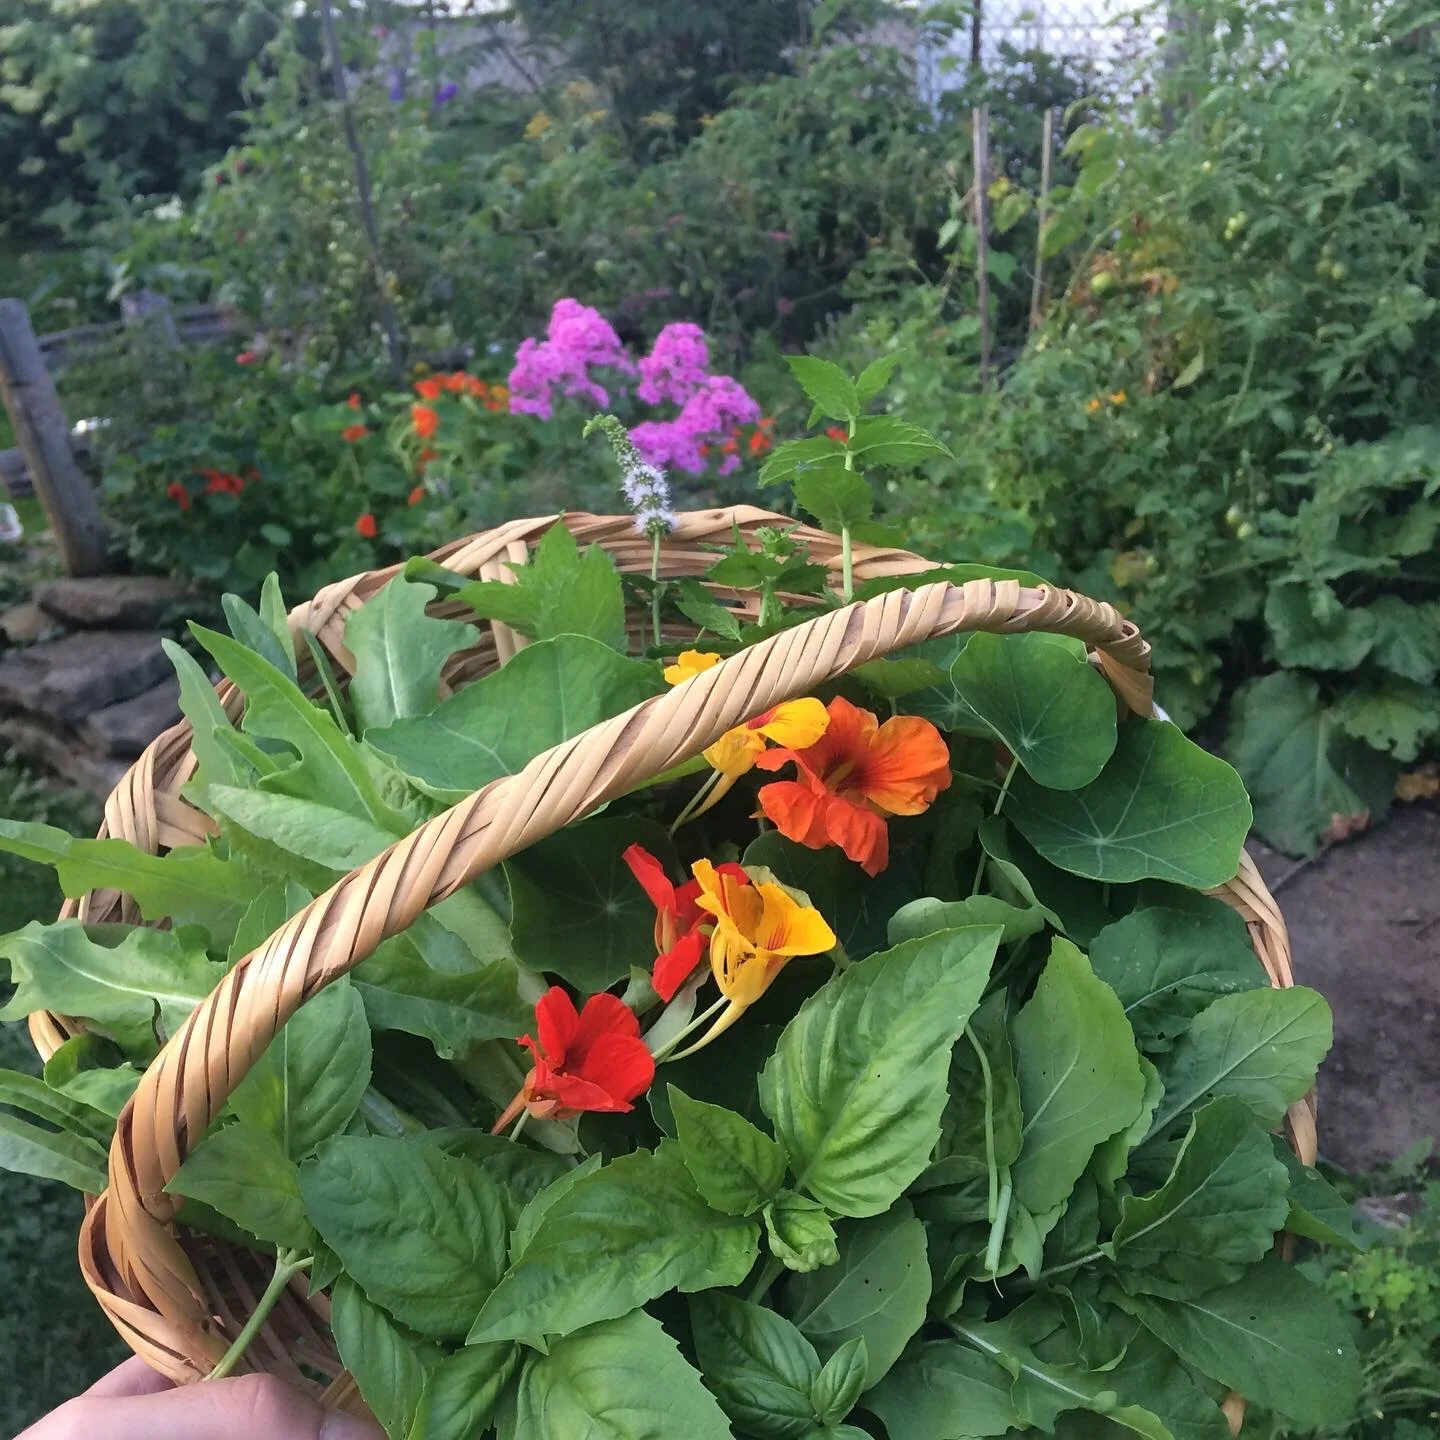
Biodiversity is the key to a healthy garden. It makes for healthier soil, attracts more beneficial insects and will be more disease and pest resistant. Nature wants diversity, it needs it for survival and adaptation so this truth is always my ethos when it comes to gardening. Plant flowers between your rows of vegetables. Create a perennial border near your raised beds, plant native plants as much as possible to support the local biodiversity that is working so hard to survive and thrive. The more diversity you have, the more success you will have. Also the more beauty.
Compost
If you have the space to make your own, go for it! It’s a great use of food scraps and provide you with rich organic matter to feed your soil. make sure you turn your compost regularly and have it in a spot that gets some sun and don’t add any invasive plants or diseased plant material to your compost. Anything invasive or diseased should be in the garbage. Keep in mind your compost wants a mix of greens and browns and water. For example, greens are like your kitchen scraps, browns are dried leaves in the fall or wood chips. For some great resources on composting check out the Compost Fairy and REAL’s compost guide.
You can also purchase compost from most garden centres. I usually will add compost to the soil surface (top dressing) and then replace the mulch on top of it. Keep in mind that some amendments, specifically manure can be very high in nitrogen. Whenever possible I usually opt for a mix of mushroom compost and manure if I am buying amendments for my garden in an effort to keep things balanced. Nitrogen is great for leafy green growth but if you are wanting fruiting or are growing root vegetables you’ll need more balance with phosphorus and potassium and an over abundance of nitrogen may not be helpful.
Organic Fertilizers
My favourites are Neptune’s Harvest, Jocelyn’s Soil Booster Worm Manure and Sea Magic. I use a fertilizer every two weeks or so early in the growing season as things are getting established. Its not a requirement, especially in a native perennial garden but can give kitchen gardens a real boost and can greatly increase the plants’ health and your harvest.
Neptune’s Harvest has a number of options, I use the seaweed and fish blend that gets mixed with water right before using. It does have a strong smell when first mixed but I’ve found it very effective and I like that its fairly balanced. By balanced I mean the N-K-P(Nitrogen- Potassium - Phosphorus) ratios are fairly balanced at 2-3-1.
Jocelyn’s Soil Booster Worm Manure provides a healthy dose of microbes in the form of worm manure and is described as ‘probiotics for your soil’. Don’t be thrown by the manure in the name, the product is dry- looks almost like dry soil and fine wood chips and has no smell. You add it to the soil outdoors or in potted indoor plants and water it in. I’ve found it to be super effective and has literally brought very sad plants back to life.
Lastly, I really like Sea Magic- I discovered it through Maggie of From Soil to Soul (if you don’t follow Maggie you should be!) and have found it to be a great option for my garden. Its ‘brewed’ in concentrated batches that you can store and then mix with water when you’re wanting to fertilize. Its 100% kelp and one 30g pouch makes 250L of organic, nutrient dense fertilizer that your plants will LOVE.
Skip the Pesticides and Herbicides
Please, just don’t use these chemicals in your gardens or on your lawns. I would avoid them at all cost. Even non organic fertilizers are a no go for me. The lasting legacy of these chemical ammendments are pretty troubling to say the least. DDT anyone?
Watering
1) Water in the early morning or late evening, NOT in the mid- day sun and heat. This actually causes the plant more stress as it tries to deal with managing water loss, can almost insulate the soil and droplets can act as a bit of a magnifying glass for the sun.
2) Water the soil not the plant. We want the water to reach the roots, so don’t overhead water directly onto the plants, instead water the soil around the base of the plant. If it works for your space, a soaker hose is a great option and frees up time, just turn it on and let it water for a good half hour. Bonus if you can connect it to a rain barrel.
3) Water deeply! The goal is for the water to penetrate deep into the soil and away from the heat at the surface of the soil. We want the plants to grow deep strong roots and we need those roots to be able to access moisture. I like to water deeply at least once per week in the mid summer, twice a week for some things if its really crazy hot and dry.
Mulch
Adding a good 2 inch layer of mulch on the surface of the soil will greatly increase the moisture retention of the soil and help to insulate and regulate soil temperatures. Mulch also helps to lessen weed pressure and ultimately preserves the soil structure. This is especially helpful if you are trying to go no till or low till. Mulching is a great way to reduce the maintenance in your garden and is well worth the initial effort. When you go to plant in the garden where you have mulched simply push the mulch layer off to the aside, prepare the planting site and after planting water deeply and then return the mulch back around the area and the newly planted addition to your garden.
I like to use natural wood chips and leaves but there are a number of great options for mulching including wood chips, leaves, straw, coconut coir and leaf mold. You can often get wood chips by contacting a local arborist, you might even find they will drop some off to you for free! A great resource for free wood chips is getchipdrop.com .. sign up and get connected to a local arborist who will drop chips off for free. Be aware you’ll likely need to take a whole truck load of chips, but if you have a lot of garden space, want to create some wood chip pathways or want to share with neighbours its really a great option.
Dividing and Moving perennials
The wisdom here is to divide/ move spring blooming perennials in the fall and divide/ move fall blooming perennials in the spring. This way you aren’t stressing the plant out when its putting all its energy into flowering and it has some time to adjust and grow before its next bloom cycle. Water the plant about a half hour to an hour BEFORE you dig it up and divide it, water the hole you are putting it into so the soil is moist and then water it again once its planted. Make sure to keep an eye on it for a couple weeks while it gets established. It might need a bit of extra care as it settles in.
Dead heading
Dead heading (removing spent flowers) encourages the plant to continue flowering instead of putting energy into creating seeds. Removing the spent flowers will increase the blooming period for perennials and encourage more flowers. That said, if you are wanting to save seeds, then don’t deadhead and enjoy the free seeds!
Saving seeds
Generally you’ll want to wait until seeds/ seedpods are dry to save the seeds. when you take them inside you’ll want to make sure they are full dry and in some cases cured before storing. This is especially important if your saving seeds from a fruit as opposed to from a flower or herb. Spread seeds on plates in a cool dry place and allow them to dry for a few weeks. You can also make some awesome seed drying trays from mesh material spread over a base- this is on list of projects!
Seasonal maintenance
I am in the camp of not cutting plants back in the fall and waiting until late into the spring when temperatures are around 10-12 degrees consistently to cut things back. Its less maintenance in the fall and the leaves and stalks provide shelter and winter habitat for important insects and wildlife and the seed heads provide some food. If you have something that aggressively self sows then I would cut those seed heads back in the fall to prevent them from taking over but otherwise I tend to leave things put for the winter and so all the work in the spring. Same goes for anything diseased- like if you have plants with mildew remove the foliage and pick up any fallen plant material that you can do reduce what will stay in the garden. Once its there its there but you can manage it with a bit of tenacity!
Happy Gardening!!